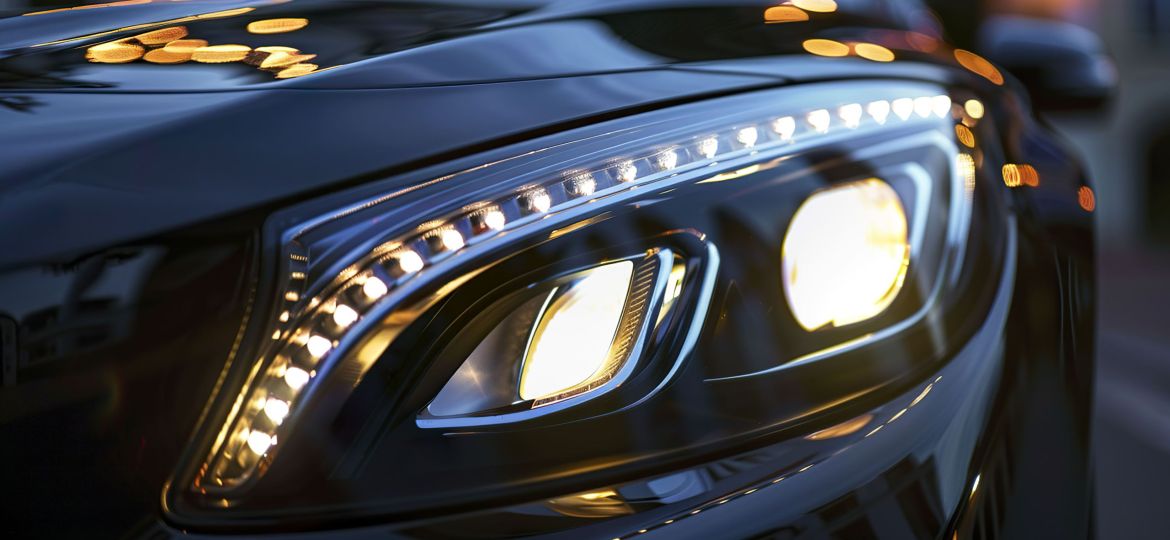
A Step-by-Step Guide to Checking Your Car’s Lights and Bulbs
Maintaining your car’s lights and bulbs is crucial for safe driving. Properly functioning headlights, taillights, brake lights, and turn signals ensure you can see clearly and be seen by other drivers, especially in low visibility conditions. Regularly inspecting these lights can help you avoid accidents, fines, and the inconvenience of driving with poor visibility.
Before You Begin:To make your inspection process smooth, gather the following tools:
- A friend or family member (to help check brake lights).
- A clean cloth (for wiping off dirt from bulbs).
- Spare bulbs (in case any need to be replaced).
- A flashlight (for better visibility, especially in dark areas).
1. Inspect Your Headlights:
Your headlights are essential for night driving and during adverse weather conditions. Here’s how to check them:
- Turn On the Headlights: Start your car and switch on the headlights.
- Test Low and High Beams: Toggle between low and high beams to ensure both settings are working properly.
- Look for Dimness or Flickering: If a headlight appears dim or flickers, it may be close to burning out and should be replaced.
- Clean the Headlight Lenses: Check for dust, grime, or fogging on the lenses. A dirty lens can significantly reduce the brightness and effectiveness of your headlights.
2. Check the Taillights:
Taillights are vital for other drivers to see your vehicle in low-visibility conditions. Follow these steps:
- Turn On the Taillights: Start your car and switch on the headlights to activate the taillights.
- Inspect Both Sides: Walk to the back of the vehicle and ensure both taillights are lit and equally bright.
- Look for Cracks or Damage: Check for any cracks or damage to the taillight covers, as these can allow moisture to enter and damage the bulbs.
3. Test the Brake Lights:
Brake lights alert drivers behind you when you’re slowing down or stopping. Here’s how to check them:
- Have Someone Press the Brake Pedal: Ask a friend or family member to press the brake pedal while you check the lights from behind the vehicle.
- Verify All Brake Lights Work: Ensure that all brake lights, including the center (third) brake light, are illuminated properly.
- Check for Delay or Dimness: If any brake light is delayed in lighting up or is dimmer than the others, it may need a new bulb.
4. Check the Turn Signals:
Turn signals are essential for communicating your intentions to other drivers. Here’s how to test them:
- Activate the Turn Signals: Turn on both the left and right turn signals one at a time.
- Check for Proper Flashing: Walk around the vehicle to confirm that both the front and rear turn signals are flashing at the correct speed.
- Listen for Rapid Clicking: A faster-than-usual clicking sound typically indicates a burnt-out bulb. If you hear this, replace the bulb immediately.
5. Inspect the Reverse Lights:
Reverse lights help illuminate the area behind your vehicle when reversing and let other drivers know you’re backing up. Here’s how to inspect them:
- Put the Car in Reverse: With the engine running, shift into reverse (make sure the emergency brake is engaged for safety).
- Check the Reverse Lights: Both reverse lights should illuminate. If either light is not working, replace the bulb.
6. Test the Fog Lights:
Fog lights are designed to help you see in foggy, misty, or low-visibility conditions. Here’s how to ensure they are functioning:
- Activate the Fog Lights: Use the appropriate switch (usually on the dashboard or control stalk) to turn on the fog lights.
- Check for Proper Operation: Confirm that both front and rear fog lights are working, if your car is equipped with rear fog lights.
7. Replacing Faulty Bulbs:
If you find any bulbs that are not working, it’s essential to replace them promptly. Here’s how to do it:
- Consult the Owner’s Manual: Your car’s manual will provide instructions on the correct bulb type and how to replace them.
- Turn Off the Car and Lights: Always ensure your car and lights are off before you attempt to replace any bulb.
- Remove the Old Bulb: Follow the instructions in the owner’s manual to remove the faulty bulb.
- Install the New Bulb: Carefully insert the new bulb, ensuring it is securely in place.
- Test the New Bulb: Turn on the car and check that the new bulb is functioning properly.
8. Keep Your Lights in Top Condition:
To ensure your lights last longer and function effectively, make it a habit to clean the lenses regularly and inspect for any damage. A well-maintained lighting system improves your safety and visibility on the road.
Conclusion:
Regularly checking your car’s lights and bulbs is a simple yet vital task that can significantly improve your safety on the road. By following this guide, you can easily ensure that all your vehicle’s lights are operating correctly, helping you avoid accidents, fines, and the risks of driving with poor lighting. Make it a regular routine to inspect and replace any faulty bulbs, and keep your car in top working condition for maximum safety.


